

Infographics are a powerful way to present complex data and information in a visual format. But static infographics can feel dry. By animating them, you can capture attention and make the content more engaging.
In this comprehensive tutorial for beginners, you’ll learn how to create a simple yet bold animated infographic in After Effects using shape layers, text animation, creative techniques, and motion graphics principles.
Let’s dive in…
Getting Started in After Effects
First, you need to open Adobe After Effects on your computer. After Effects is the industry-standard software tool used for creating motion graphics and visual effects. It’s very versatile for animating infographics.
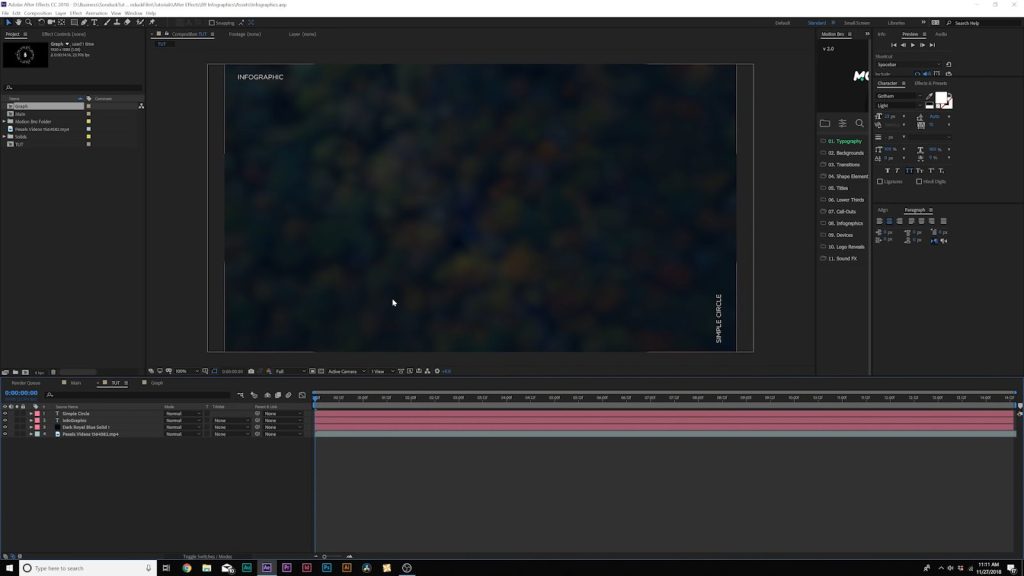
When you first launch After Effects, you’ll see the main workspace. This houses all the tools, menu items, panels, and windows you’ll use to build your animations. Let’s review the key pieces:
On the left is the Project Panel. This shows all the source files/assets you import into After Effects for your project. Above that are folders for organizing your project assets.
In the upper right is the Tools Panel. This contains all the core tools you need for designing animations, like the selection, pen, and text tools. Above that are the preview and audio controls for testing your animations.
At the bottom is the Timeline Panel. This is the core timeline where you’ll arrange layers and compose animations over time by setting keyframes. On the right are panels for previewing compositions and previewing rendered video.
Along the top are the main menu items, like File and Edit. This is where you access core functions like importing files, editing layers, and exporting your finished animations.
Alright, now that we know the basics of the After Effects workspace, let’s set up a new project!
Go to File > New > New Project in the top menu. This will create a new, empty project file to house our infographic animation work. Think of it like a container.
When you create a new project, it also automatically creates a new Composition. You can think of a comp like an individual timeline for your animations.
Let’s set up our Composition properly:
- Set the Width to 1920 px
- Set the Height to 1080 px
- Set the Frame Rate to 30fps
Click OK when you’re done. This will open up the Composition panel, which is the canvas where we’ll design and animate the infographic.
If you don’t see your new Composition panel, you may have to select it from the Project Panel on the left side.
Importing Assets
Before we start animating, we need to import any images, videos, audio, or other assets we want to use in the project.
For this infographic, we’ll want some kind of background image first. I’m using a simple dark blue gradient background. You can use any image file you want.
In After Effects, go to File > Import > File… to open your system’s file browser. Navigate to your background image file, select it, and click Open.
This will import the image file into your Project Panel on the left side. It does NOT place it in the composition automatically.
To add the background into the composition, you simply click and drag the file from the Project Panel into the Composition panel.
Position and scale the background image to fill the entire composition frame. This will become the backdrop for our animated infographic design.
Later on, we may want to import other assets like icons or graphics. The process is the same – select File > Import > File… to load them into your project files, then drag them into the composition when needed.
Creating the Initial Number Value
Now we can start designing the actual infographic. Let’s begin with a simple number value that will display some data or metric.
On the left Tools Panel, select the Text Tool (the T icon). Click anywhere in the Composition panel to create a new text layer.
By default, it will show the placeholder text. Let’s type the number we want. For this example, type “0” without quotes.
This creates a text layer displaying the number 0. Let’s format and style it:
In the Tools Panel, make sure the text layer is selected. Then locate and open the Character panel (Window > Character).
In the Character panel, change the following:
- Font Family: Gotham Bold
- Font Size: 300 px
- Alignment: Center (this centers the text horizontally)
Gotham Bold at 300 pt size makes the number clearly visible. Setting text alignment to the center places it in the middle.
To center the number vertically too, open the Align panel (Window > Align).
Click the Horizontal Center button and Vertical Center button with the text layer selected to center it completely in the frame.
Now we have the initial number value (0) displayed large and centered, ready to be animated!
Animating the Number Counter
Next, we want to animate the number over time. Let’s make it count up from 0 to 1000.
To achieve that animation, we need to connect the text number value to a controller. This lets us change the value over time.
First, create a new Null Object layer. Think of null objects as empty helper layers you can use as containers and controllers.
Go to Layer > New > Null Object in the top menu. By default, it will be named something like Null 1. Double-click the layer name and rename it to something like “Number Counter Controller”.
This null object will control the text number counter. But we need to link it.
With the controller layer selected, go to Effect > Expression Controls > Slider Control. This will add a virtual slider value we can connect to the text number.
Now, back on the text layer, we need to open the expression editor. Press U on your keyboard to open the layer’s Properties panel.
Click the stopwatch icon next to Source Text. This will open up a text expression field where we can write code logic to control values.
Take the pick whip tool and click-drag from the Source Text expression over to the Slider Control effect value on the controller layer. This parent links the two values together.
Now, when you adjust the Slider Control value, it will change the text number!
To make the number count up over time, we need to set keyframes on the slider control. Move the timeline playhead to 0 seconds.
Click the stopwatch icon next to Slider to insert the first keyframe. Set the slider value to 0.
Move the playhead to around 4 seconds. Insert another keyframe on the Slider control. Change the value to 1000.
Now when you preview the animation, the text number will animate from 0 to 1000 over 4 seconds. Except it counts up incrementally with decimal points, which doesn’t look very clean. Let’s fix that.
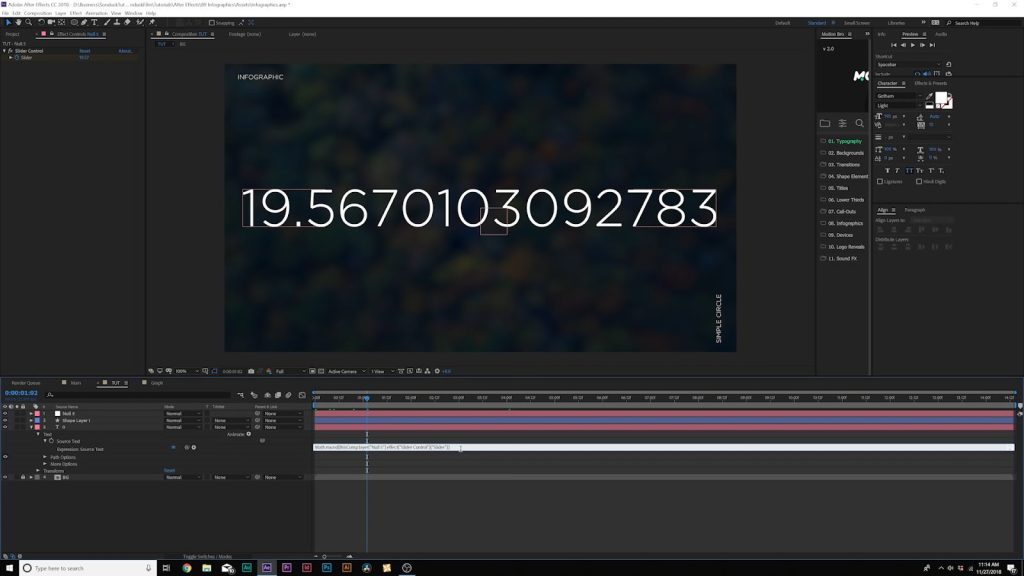
In the expression editor for the Source Text, add Math.round() around the existing expression:
Math.round(effect(“Slider Control”)(“Slider”))
The Math.round() formula rounds the number value to a whole number. Now when you preview, it counts cleanly from 0 to 1000.
So in summary, we created a controller layer, linked the text number value to it, and used keyframes to make the number animate over a set time.
Creating the Animated Circle Shape
Our number counter works great, but looks a bit boring on its own. Let’s spice it up with a circle shape that will animate along with the number.
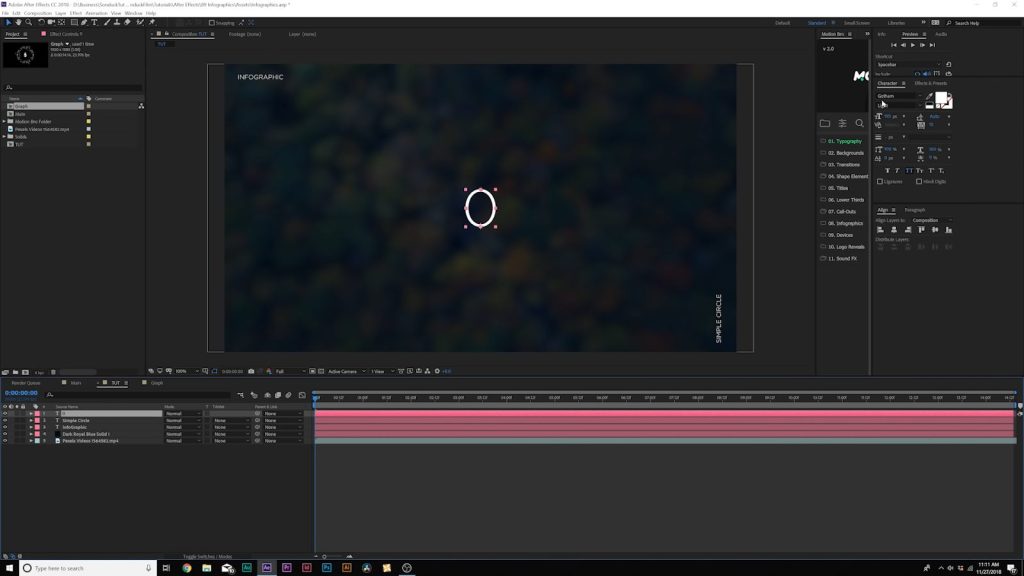
Select the Ellipse Tool from the Tools Panel on the left (shaped like a circle icon).
In the Tools Panel, make sure Fill is set to None and Stroke is set to a solid color like white. This will make the ellipse have an outline but no fill.
With the Ellipse Tool selected, click and drag in the Composition panel to draw out a circle shape around the number text, like a progress ring.
Hold Shift as you drag to make the ellipse a perfect circle shape rather than oval.
Position and scale the circle so it wraps nicely around the number text in the center.
To make sure the circle is perfectly centered, use the Align panel again (Window > Align). Select the circle layer, then click the Horizontal Center and Vertical Center buttons.
Let’s rename this shape layer to something nicer than “Ellipse 1”. Double-click the layer name in the Timeline panel, then name it something like “Counter Circle”.
We want this shape to animate as the number counts up from 0 to 1000. So, just like the text, we need to link it to the controller layer.
But first, we need to set up the circle. Press U to open the layer’s Properties panel.
Go to Add > Trim Paths. This will add a Trim Paths effect that allows us to trim/crop path shapes.
Set Trim Paths End value to 0%. This will make the circle disappear for now.
Now, link the End value to the controller slider:
- Click the stopwatch icon next to End to open the expression editor.
- Click and drag the pick whip from End expression to the Slider Control on the controller layer.
Except, the Slider goes from 0-1000, and the Trim Path goes 0-100%. So we need to divide the slider value by 10:
(effect(“Slider Control”)(“Slider”))/10
Now when you preview the animation, the circle will grow outwards as the number counts up from 0 to 1000!
Enhancing with More Shape Layers
Our infographic is coming along nicely. But to make it more visually interesting, let’s keep adding more shapes.
Start by duplicating the “Counter Circle” layer. You can do this by selecting the layer and going to Edit > Duplicate, or pressing Ctrl/Cmd + D.
Rename the duplicated circle layer to something like “Counter Circle 2”.
Make this new shape unique by changing its properties:
- In the Transform properties, scale it up slightly to around 105% size so it sits larger around the first circle.
- Lower the Stroke Width to around 15px to make the outline thinner.
- Lower Opacity to 80% so it’s slightly transparent and sits behind the main circle.
Together these alterations make the second circle pulse nicely around the first one.
We can keep embellishing by duplicating again for a third circle:
- Rename this one “Counter Circle 3”.
- Make it a solid shape rather than outline by deleting the Trim Paths effect.
- Increase opacity back to 100%
- Scale it down to around 95% size to fit inside the previous circles as a contained outline.
Let’s take this even further and add more unique layers:
- Duplicate Circle 3 and rename it to “Outline Ring”.
- Increase stroke weight to 25px for a bolder outline.
- Scale it up like 105% so it sits just outside the other elements as a border.
- Duplicate again and call it “Dashed Circle”.
- Add dashes to the stroke for a dotted line effect.
- Scale it down to about 95% to fit between the interior and exterior circles.
With just a few duplicates and property changes, we now have a complex, layered circle element for our infographic!
The different outlines and variations create visual interest and depth without much extra effort.
Adding Movement with Rotating Triangles
Our infographic is looking great so far with the animated number and pulsing circles. Now let’s make it feel more dynamic by adding some rotating triangle shapes.
Select the Polygon Tool from the Tools Panel on the left. Make sure Fill is set to none and Stroke is set to a solid color.
Click and drag in the Composition panel to draw out a triangle shape. It doesn’t need to be proportional or positioned yet.
With the triangle layer selected, open the Shape settings in the Tools Panel. Change Polystar Path Points value to 3. This converts it into a standard triangle shape rather than a star.
Now position and scale the triangle as desired. For example, placing it over the left side of the circle element.
To rotate the triangle on an angle, set the Polystar Path Rotation value to 90 degrees. The triangle will pivot to point upwards.
Let’s rename this layer from “Polygon 1” to something like “Left Triangle”.
To make this static triangle spin, we’ll use a handy After Effects expression called Wiggle.
Select the Left Triangle layer. Press R to open the Rotation property.
Click the stopwatch icon to open the expression editor. Type:
wiggle(1, 200);
Wiggle(frequency, amplitude) makes a property, like rotation, fluctuate randomly. This expression wiggles the rotation 1 time per second, up to 200 degrees in either direction.
When you preview the animation, the left triangle should now wiggle around randomly!
Let’s make this even more lively by duplicating the triangle a couple times:
- Duplicate the layer and rename it “Right Triangle”
- Position it on the right side of the circles now
- Keep wiggle expression, but increase amplitude to 300 for more drastic wiggles
- Duplicate again and call it “Bottom Triangle”
- Move it below the circle element
- Increase frequency to 3 for faster wiggling
With just a few duplicates, repositioning, and tweaking the expression settings, we now have animated geometric shapes making the infographic feel dynamic!
Final Touches to Polish the Infographic
Our infographic animation is really coming together now! Let’s add some final touches to polish it up:
Select all the shape layers in the Timeline panel (the number text, all circles, and triangles).
With them selected, go to Layer > Precompose…
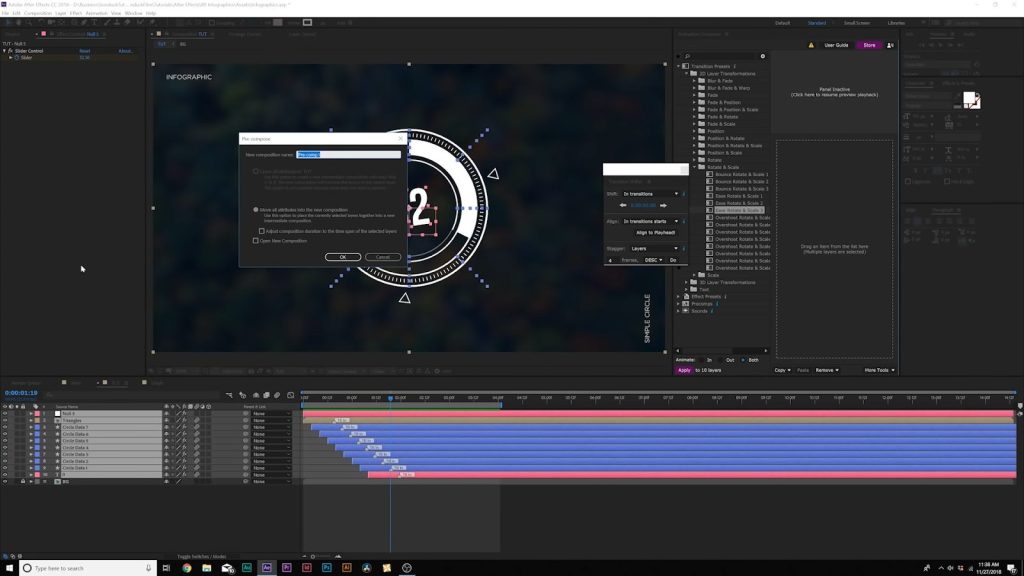
Name the new nested composition something like “Infographic Shapes”
Click OK to precompose them. This nests everything together into one unified layer.
With the Infographic Shapes layer selected, go to Effect > Stylize > Glow… to add a glow effect.
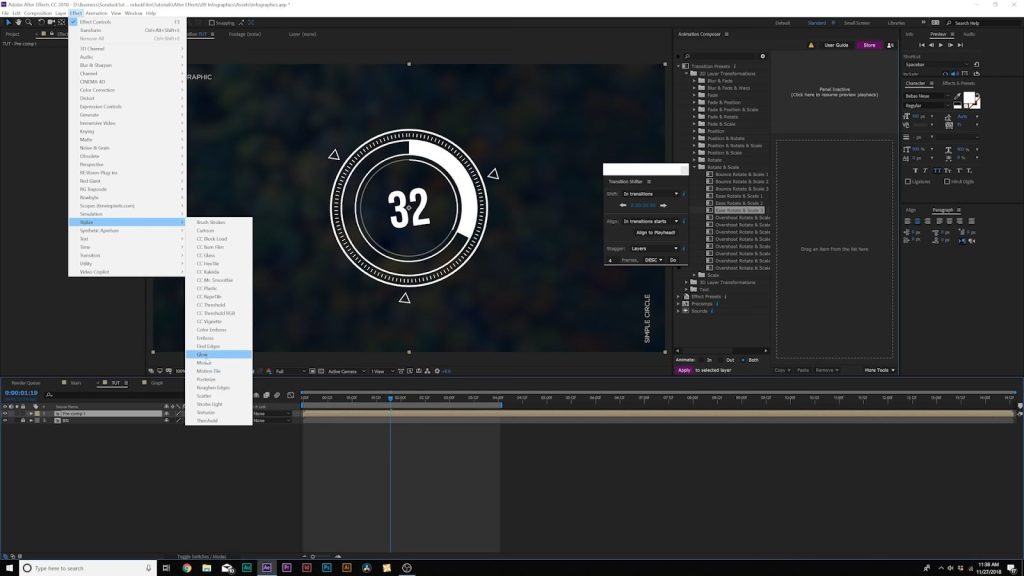
Adjust the glow settings like glow color and radius to taste. This will make the key elements pop nicely.
The last polish is to enable motion blur. This will make all the animations and movements smoother and more natural.
Click the Motion Blur switch on for the Infographic Shapes layer, as well as the Composition itself at the top of the Timeline panel.
And that’s it! With some fairly simple shape layers, duplicated elements, clever expressions, and layer styles, we were able to transform a simple 0 number into an engaging, animated infographic!
Final Words
I hope you found this in-depth tutorial helpful for learning how to create animated infographics in After Effects. Let me know if you have any other questions!
If you learn better from videos, you can follow this tutorial by Sonduck Films on YouTube for this simple animation.
Be sure to grab the assets like fonts (Gotham) and images they used beforehand so you can follow along smoothly!